OK, heute versuche ich mal, auf einer Sysnology Nas Gitlab zu installieren, da ich meine Git Repositories lieber in meinen eigenen 4 Wänden haben möchte.
Spoiler-Alarm: Hat leider nicht funktioniert.
Als erstes frage ich mal ChatGPT wie das denn funktionieren könnte. Also starte ich einen neuen Chat mit folgender Frage:
How to install gitlab on a synoloy nas with docker?
Die Antwort kommt direkt und sieht auf den ersten Blick auch sehr gut als:
To install GitLab on a Synology NAS with Docker, you will need to perform the following steps:
- Open the Synology Docker app and click on the „Registry“ button.
- Search for „gitlab“ in the search bar and select the official GitLab image.
- Click on the „Download“ button to download the image.
- Once the download is complete, click on the „Launch“ button to start the container.
- In the „Advanced Settings“ section, you can configure the container’s settings, such as ports and volumes.
- Be sure to map the ports correctly. GitLab uses ports 80 and 443 for HTTP and HTTPS respectively.
- Under „Volume“, create a new volume and map it to a directory on your NAS where you want to store the GitLab data.
- Once you have configured the settings, click on the „Apply“ button to start the container.
- Access the GitLab web interface by going to the IP address of your NAS on port 80 or 443 (depending on the configuration).
- Follow the prompts to set up and configure your GitLab instance.
Keep in mind that this is a general guide and actual steps may vary depending on your specific setup and version of the Synology NAS.Regenerate response.
Ok, dann mal los.
- Docker auf der Synology Nas öffnen und den Registrierung Buton drücken.
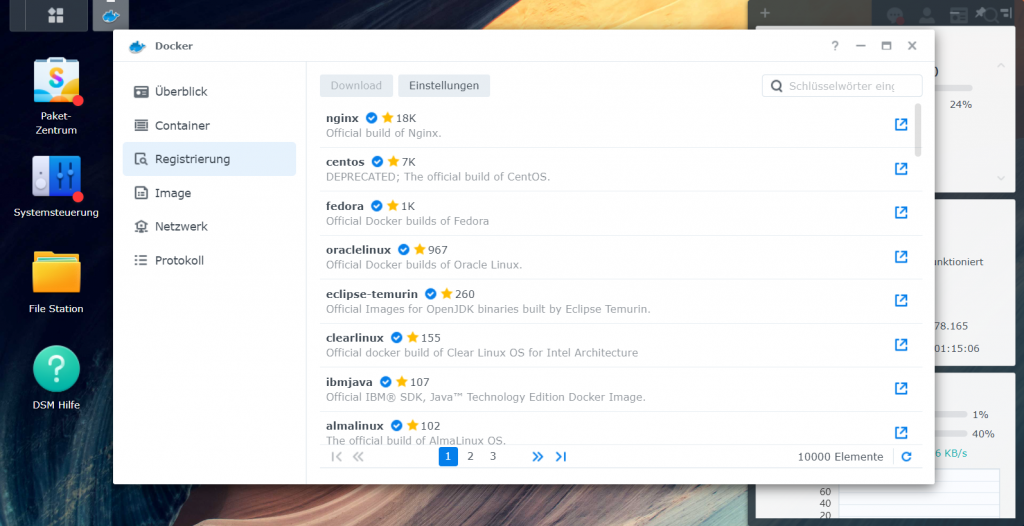
2. In der Suchleiste nach „gitlab“ suchen und das offizielle GitLab-Image auswählen.
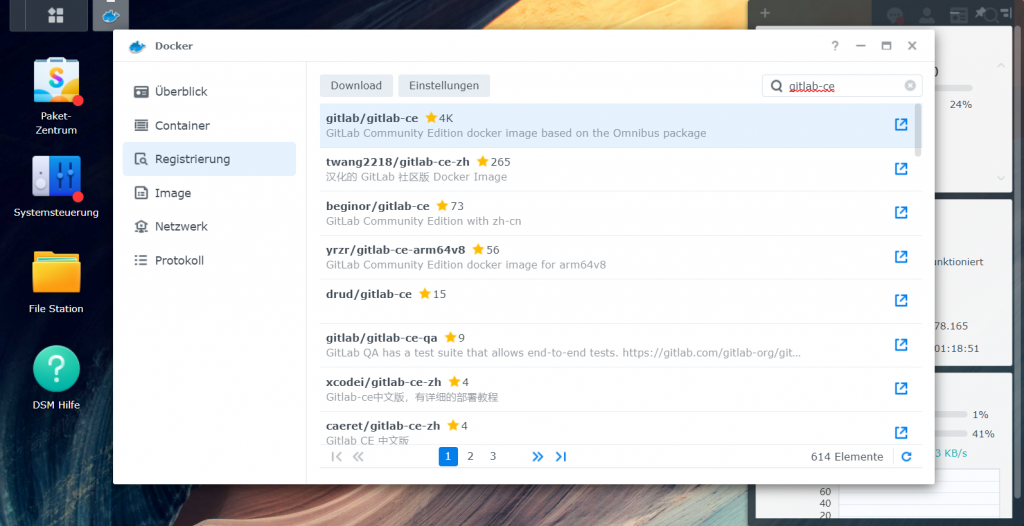
Ok, das hat nicht ganz funktioniert. Die Suche nach gitlab hat mir nicht das offizielle gitlab-Image gezeigt, also habe ich einfach nach gitlab-ce gesucht und war sofort erfolgreich.
3. Auf die Schaltfläche „Download“ klicken, um das Docker Image herunterzuladen.
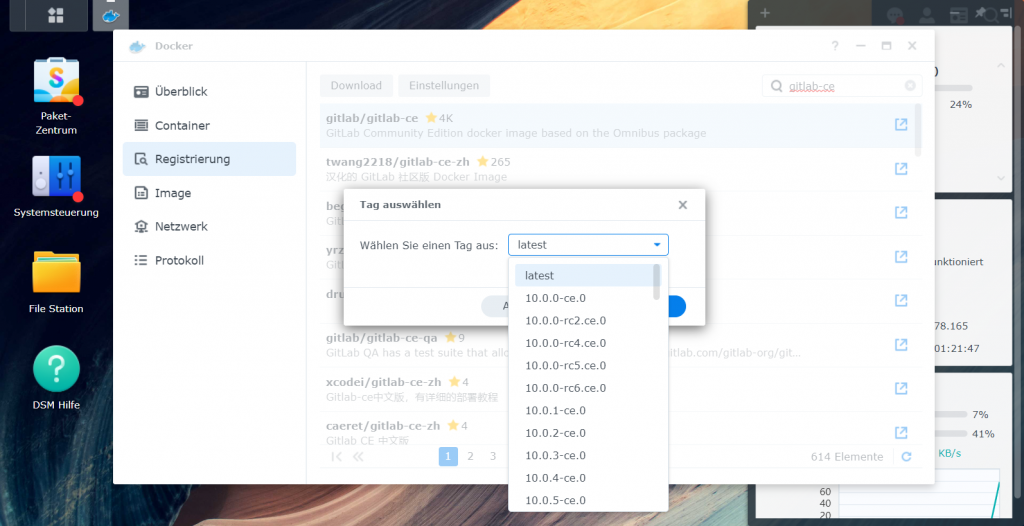
4. Sobald der Download abgeschlossen ist, auf die Schaltfläche „Starten“ klicken, um den Container zu starten.
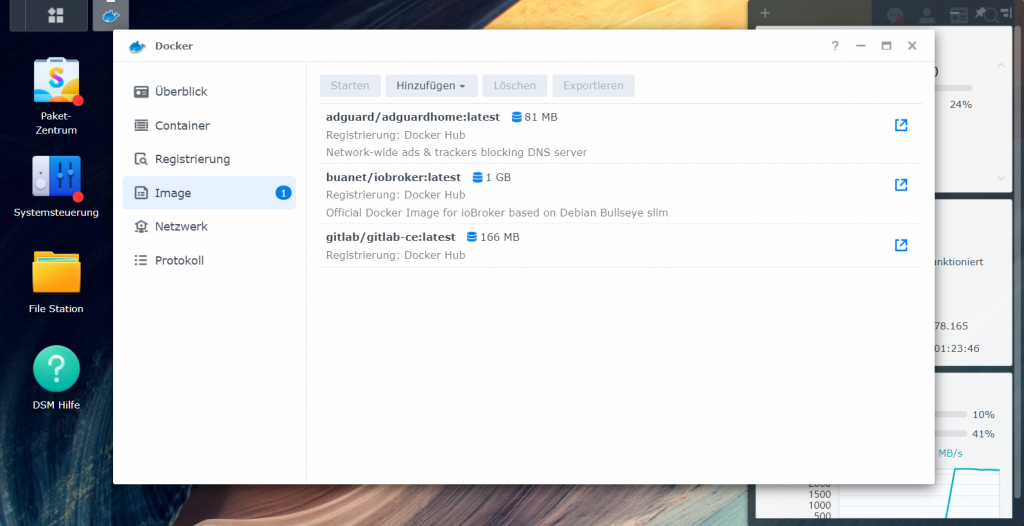
Vor dem Start kann man den Container noch umkonfigurieren. Ich passe hier die Ports ein wenig an.

Das funktioniert so weit auch. ChatGPT hat zwar ein paar Details übersprungen. Z.B. wie man den Download Fortschritt beobachten kann (Image Button) aber das sollte man auch ohne Docker Erfahrung recht schnell selbst herausbekommen können.
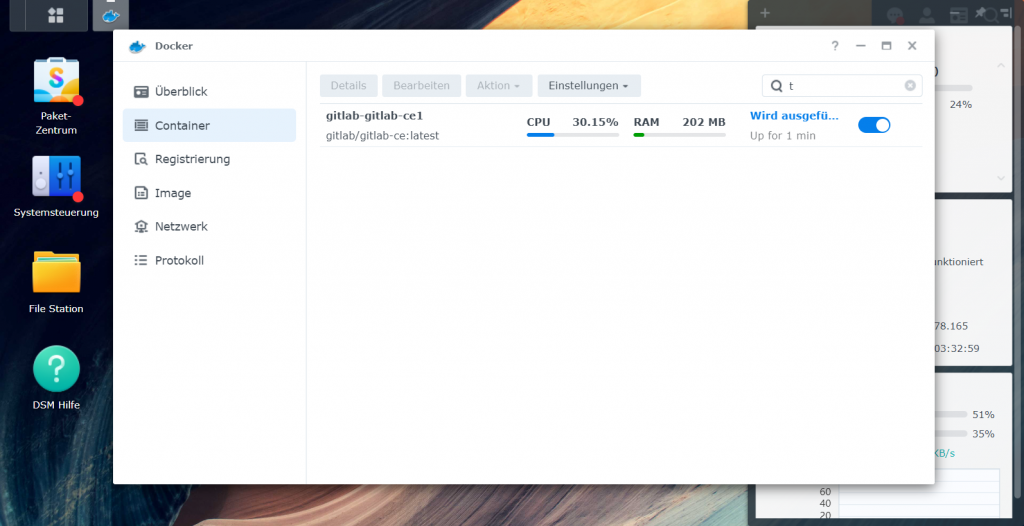
5. Im Abschnitt „Erweiterte Einstellungen“ kann man die Einstellungen des Containers konfigurieren, z. B. Ports und Volumes.
OK, den Schritt habe ich gerade schon vorgezogen. Aber Gut, dass mich ChatGPT noch mal daran erinnert.
6. Achten Sie darauf, die Ports richtig zuzuordnen. GitLab verwendet die Ports 80 und 443 für HTTP bzw. HTTPS.
Die Ports habe ich wie oben geändert.
7. Unter „Volume“ erstellen Sie ein neues Volume und ordnen es einem Verzeichnis auf Ihrem NAS zu, in dem Sie die GitLab-Daten speichern möchten.
Hier hätte ich etwas mehr Details erwartet. Aber da kann man ja noch mal nachfragen 🙂
Frage: Which volumes do I have to create?
Antwort:
When installing GitLab on a Synology NAS using Docker, you will need to create the following volumes to store your GitLab data:
configvolume: This volume is used to store the configuration files for GitLab. This includes thegitlab.rbfile, which contains the settings for your GitLab instance. You should map this volume to a directory on your NAS where you want to store the configuration files.logsvolume: This volume is used to store the logs generated by GitLab. This includes the logs for the GitLab Rails app, as well as the logs for the various services that make up a GitLab instance (such as PostgreSQL and Redis). You should map this volume to a directory on your NAS where you want to store the logs.datavolume: This volume is used to store the actual Git data. This includes the repositories, LFS objects, and uploads. You should map this volume to a directory on your NAS where you want to store the Git data.
It’s recommended to have the data volume have most of the space allocated, and the other two(config and logs) can have a reasonable size.
Please note that the volume names and paths may vary depending on the specific version of the GitLab image you are using. It’s always best to consult the official documentation of the image.
Gute Antwort. Am Ende lege ich also 3 Volumes an, die in meinem Fall wie folgt mounted werden.

8. Sobald Sie die Einstellungen vorgenommen haben, klicken Sie auf die Schaltfläche „Übernehmen“, um den Container zu starten.
Nun heißt es warten. Der erste Start von Gitlab (auf einer Synology NAS) kann schon mal etwas dauern.
9. Greifen Sie auf die GitLab-Weboberfläche zu, indem Sie die IP-Adresse Ihres NAS über Port 80 oder 443 (je nach Konfiguration) aufrufen.

Try refreshing the page, or going back and attempting the action again.
Please contact your GitLab administrator if this problem persists.
Mist, da scheint etwas noch nicht zu funktionieren oder ich muss evtl. noch einen Moment warten. Also noch mal ein peer Minuten Geduld ….
Auch nach einer Stunde tut sich hier leider nichts und ein Check der Konsole zeigt auch was das Problem ist:
michael@synology:~$ uptime
 13:41:02 up 16 days,  4:58,  1 user,  load average: 15.13, 12.05, 10.71 [IO: 14.90, 11.72, 10.38 CPU: 0.23, 0.32, 0.29]
Eine Load von 15 ist natürlich nicht so gesund, daher schalte ich den Docker-Container wieder ab und muss auf den letzten Schritt (10. Folge den Anweisungen, um die GitLab-Instanz einzurichten und zu konfigurieren.) leider verzichten. Nach dem Beenden des Docker Containers läuft das System wieder normal.
michael@synology:~$ uptime
 13:58:36 up 16 days,  5:16,  1 user,  load average: 0.28, 1.13, 5.10 [IO: 0.05, 1.00, 4.92 CPU: 0.23, 0.12, 0.15]
Pech, aber meine Synology DS220+ scheint nicht auszureichen. 🙁